Floating Toes Awareness Drill in Standing Neutral Posture Assessment
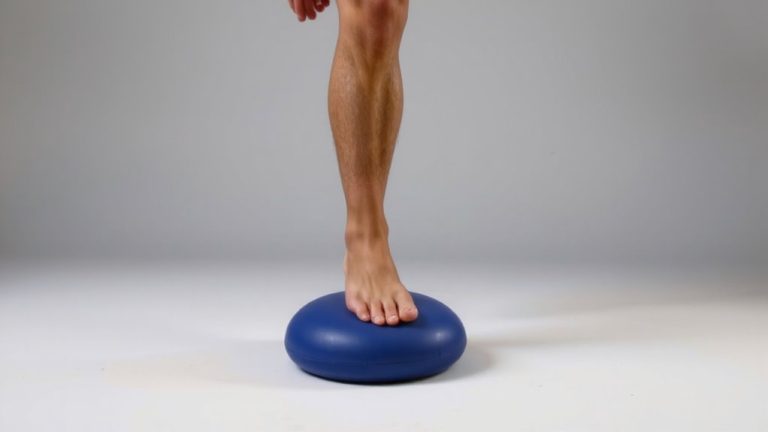
Stand barefoot, feet shoulder-width apart, and press your big toe down to activate the tripod: ball behind big toe, pad under fifth toe, outer heel edge-key for balance like a Brooks Ghost 15’s stabilized platform. Lift and spread all toes, then lower big toe first, followed by lesser toes, holding each rep 5 seconds. You’ll boost foot stability, improve alignment, and reduce cramping over time with consistent practice. Spotting toe lifting or rolling? It’s a sign of weakness you can fix-try toe spacers or progress to tapping drills on a balance pipe.
We are supported by our audience. When you purchase through links on our site, we may earn an affiliate commission, at no extra cost for you. Learn more. Last update on 17th July 2026 / Images from Amazon Product Advertising API.
Notable Insights
- Perform the Floating Toes Drill barefoot with feet shoulder-width apart to assess neutral standing posture.
- Focus on grounding the big toe first, then the lesser toes, to engage intrinsic foot muscles.
- Maintain pressure on the three tripod points: under the first and fifth metatarsal heads and the outer heel.
- Observe for toe lifting, curling, or outward rolling as signs of instability or poor alignment.
- Use the drill to enhance proprioception and detect deficits in foot control during static stance assessment.
What Is the Floating Toes Awareness Drill?
Think of your feet as the foundation of your movement-and right now, that foundation might be compromised. The Floating Toes Awareness Drill helps you detect improper toe contact, especially when the lesser toes lift or curl during standing. You stand shoulder-width apart, grounding the four lesser toes evenly while maintaining pressure under the ball behind the big toe, the pad behind the fifth toe, and the heel’s outer edge. Toe lifting, curling, or outward rolling signals foot instability and poor neuromuscular control. Many feel arch cramping at first-a sign of underactive intrinsic muscles-which fades with practice and massage using a therapeutic ball. This drill reactivates dormant foot musculature, improves balance, and supports better posture, especially useful if you wear minimalist shoes or log high weekly miles. It’s a simple, effective step toward stronger, more stable feet.
Why Big Toe Control Builds Foot Stability
You’ve already started tuning into your foot’s foundation with the Floating Toes Awareness Drill, sensing how even contact across the lesser toes sharpens stability-now it’s time to zero in on the big toe, the powerhouse of forefoot control. This single digit contributes up to 40% of forefoot stability during stance, anchoring your balance during forward shifts like those in the Vele Forward Lean Test. Pressing your big toe into the ground activates intrinsic foot muscles, boosting proprioception and foot stability. Weakness here links directly to a higher risk of falls, especially in adults over 65. Research by Mickle, K. et al. (2009) shows strong big toe function predicts better foot health across ages. Training with tools like the Toe Pro or towel scrunches can drive up to 4x greater strength gains in toe flexion, building resilience with real-world impact.
How to Do the Floating Toes Drill: Step-by-Step
While standing barefoot with your feet shoulder-width apart, start by lifting all your toes off the ground, then spread them wide before slowly lowering them back down one at a time-big toe first, followed by the lesser toes-to actively engage the foot’s tripod: the ball behind the big toe, the pad beneath the fifth toe, and the outer edge of the heel. Press into those three points evenly, keep your arch lifted, and avoid rolling your feet outward. If your toes resist spreading, use a long shoe horn or your hands to gently guide the big toe away. Hold the grounded position for 5 seconds, then relax and repeat for 3 sets. It’s a simple drill, but it builds real foot stability. Don’t miss a post-follow us on Instagram to stay updated with daily tips, form tweaks, and drills that keep you running strong, injury-free, and in control with every step.
Use These 3 Pressure Points for Balance
With your feet grounded and weight evenly distributed, focus on pressing into three key contact points: the ball behind your big toe, the pad beneath the fifth toe, and the outer edge of your heel. These pressure points are essential for proper foot alignment and balanced weight distribution. Pressing evenly through them stabilizes your medial arch, improves rearfoot control, and reduces unwanted rolling. When all three points stay in contact with the floor, you enhance proprioception and postural feedback, which boosts overall balance. Lifting any point disrupts alignment and weakens stability, making the drill less effective. Think of it like the tripod base of a camera-each point supports the other. Testers wearing lightweight trainers like the Brooks Ghost 15 noticed better control when actively engaging these zones. You don’t need special gear, just awareness. Proper pressure here builds smarter movement patterns that translate to running, lifting, and daily stance.
Fix Cramps and Foot Rolling During the Drill
If cramping strikes during the floating toes drill, don’t push through it-short breaks let the intrinsic foot muscles reset, so you can return once the tension fades. Muscle fatigue is common at first, especially if you’re new to proprioception training, but consistency builds endurance fast. Rolling your foot outward? That’s a sign of poor joint alignment and uneven pressure. Stay grounded through the ball behind your big toe, the pad behind your fifth toe, and your outer heel-this tripod keeps your foot stable. Use a thick rubber band or toe spacer to gently separate your big toe, especially if you have hallux valgus or tight toes. It helps maintain correct positioning and boosts sensory feedback. Over time, cramping and rolling fade as neuromuscular control sharpens and the small foot muscles get stronger. Stick with it daily for best results.
Advanced Floating Toes Drill Variations
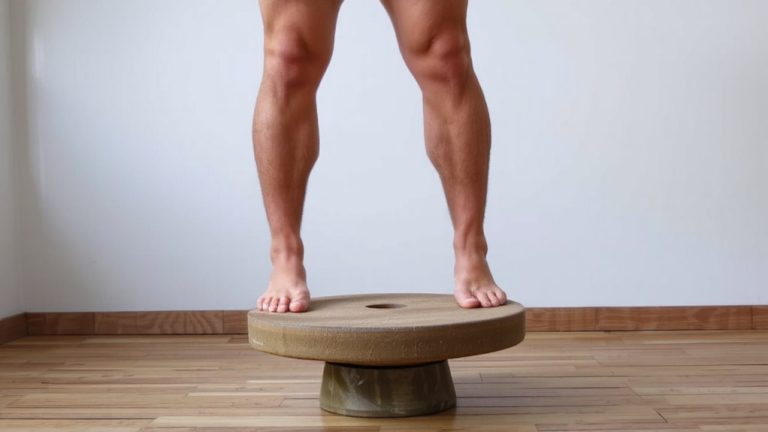
You’ve already tackled cramps and foot rolling, so now it’s time to level up your foot strength with advanced variations of the floating toes drill. Focus on lifting only the lesser toes while keeping your heel and lateral foot grounded-this builds isolated strength for better dynamic alignment. Add a 10-second hold with 10 controlled taps to boost neuromuscular endurance, linked to a 4.5-inch anterior reach in the Vele Forward Lean Test. Use a toe spacer like Correct Toes or Naboso Technology to increase intrinsic activation, especially helpful if you have hallux valgus. Try the drill on a balance pipe to heighten proprioceptive loading and engage posterior chain coordination.
| Variation | Benefit | Tool Needed |
|---|---|---|
| Isolated toe lifts | Targets flexor digitorum | None |
| Tapping sequence | Improves neuromuscular synchronization | Timer |
| Resistance spacing | Enhances muscle activation | Correct Toes |
| Unstable surface | Increases proprioceptive loading | Balance pipe |
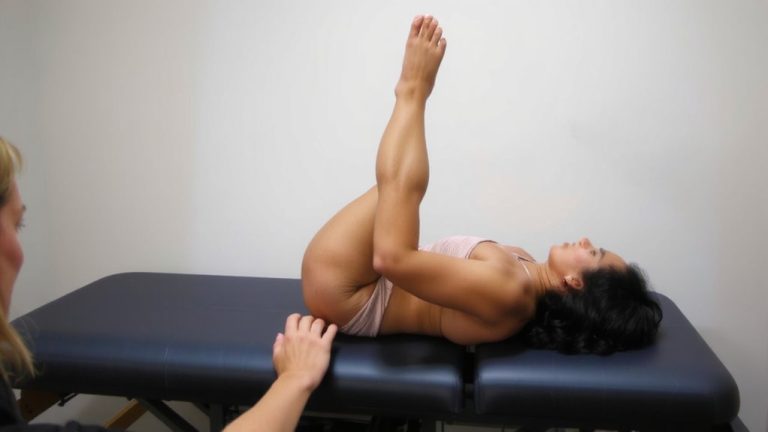
Pair with posterior pelvic engagement to improve system-wide tension and reflexive stability by up to 30%.
On a final note
You’ve now built better foot control with the floating toes drill, improving balance and stability through precise pressure points at the big toe, lateral foot, and heel. This foundation reduces overpronation, cuts cramp risk, and boosts running efficiency. Pair it with supportive footwear like the Asics Gel-Kayano or short, firm strides on varied terrain. Testers report less shin fatigue and sharper posture in 2-weeks-just 3 minutes daily. Stay consistent, stay grounded.