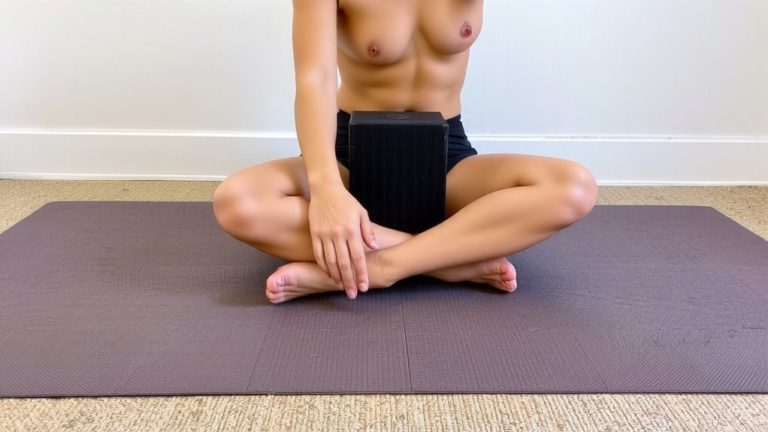
Windshield Wiper Knees Supine for Internal/External Hip Rotation Release
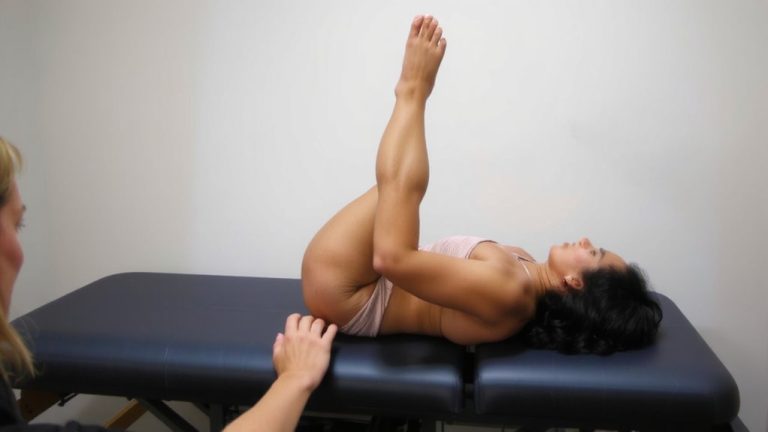
You need 30–40° of hip internal rotation and 45° external rotation for pain-free squats, climbs, and agile direction changes-most people fall short. The supine windshield wiper fixes this: lie on your yoga mat, knees bent, feet wide, and gently guide one knee outward while keeping both glutes flat and pelvis anchored. Use hands on your ASIS to confirm no tilt. For mobility, do 10–15 controlled reps per side; for long-term release, hold 20–30 seconds. You’ll move better, reduce FAI risk, and boost joint health-with consistent use, testers gain up to 10° in range within two weeks, activating smoother, safer motion patterns.
We are supported by our audience. When you purchase through links on our site, we may earn an affiliate commission, at no extra cost for you. Learn more. Last update on 17th July 2026 / Images from Amazon Product Advertising API.
Notable Insights
- Lie on your back with knees bent and feet flat, wider than hip-width, to perform supine windshield wipers for hip rotation.
- Keep your pelvis grounded and both ASIS points facing the ceiling to ensure proper pelvic stability.
- Move one knee outward in a controlled manner while maintaining glute contact with the floor to isolate hip motion.
- Use slow 3–5 second descents with exhalation to enhance control and target internal/external hip rotation release.
- Perform 10–15 dynamic reps or 20–30 second end-range holds, 3–5 times weekly, for improved hip mobility and joint health.
Why Hip Rotation Matters for Mobility?
While most people focus on strength or flexibility in the sagittal plane, rotational mobility at the hip is what truly activates functional movement, especially when you’re squatting, climbing, or changing direction on the run. If you’ve got less than 30–40 degrees of internal rotation or under 45 degrees externally, you’re likely compensating, stressing your knees and lower back. Poor rotation limits joint health, accelerates cartilage wear-especially with over 10 degrees lost-and raises FAI risk, seen in 85% of symptomatic hips. But when you optimize rotation, you boost athletic performance: studies show up to 20% better agility and change-of-direction speed. Runners report smoother strides, fewer tweaks, and more control in trail shoes like the Hoka Speedgoat, where foot positioning demands hip precision. It’s not just mobility work-it’s movement efficiency, injury prevention, and long-term resilience, all hinging on how well your femur moves in the socket.
How to Set Up the Windshield Wiper Position
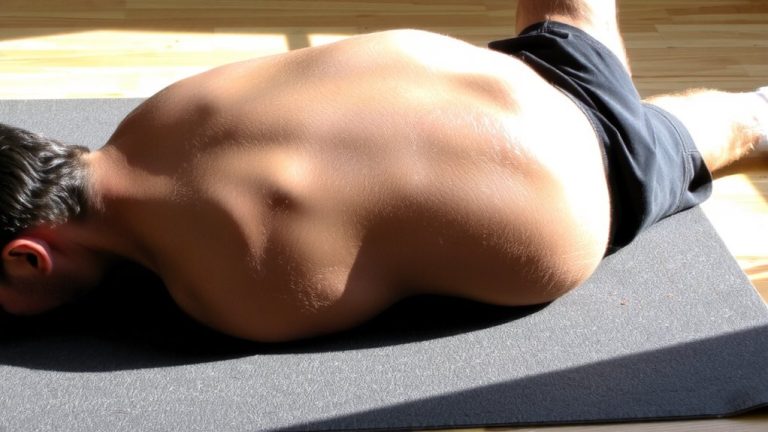
You’ve seen how proper hip rotation supports mobility, reduces injury risk, and sharpens performance on technical trails or during explosive cuts on the court, so now it’s time to build that control where it starts-with the right setup in the windshield wiper position. Lie on your back on a yoga mat, ensuring your foot positioning starts wider than hip-width-feet outside the mat width to accommodate longer femurs. Bend your knees to 90 degrees, feet flat, pelvis grounded. Keep your arms relaxed at your sides or hands on your pelvis to confirm the pelvic bones stay level and face the ceiling. Maintain full contact between your buttocks, pelvis, and floor. Test your range by gently guiding one knee outward, verifying movement comes from the hip joint, not a pelvic shift. This stable base primes isolated, effective rotation.
Keep Your Pelvis Stable the Right Way
Because pelvic stability is essential for clean, effective hip rotation, you’ll want to keep your pelvis rooted to the floor throughout the movement-think of it like anchoring a camera tripod so the lens can pivot smoothly. Proper pelvic alignment prevents compensation, letting you focus on femoral isolation. Keep both ASIS points facing the ceiling, and maintain full glute contact with the floor to stop rocking. Use your hands on your pelvis to monitor movement-any shift means you’re losing isolation.
| Focus Area | Key Cue |
|---|---|
| Pelvic alignment | ASIS level, facing ceiling |
| Femoral isolation | Motion only from femur, not pelvis |
| Stability feedback | Hands on pelvis, butt fully on floor |
This control guarantees targeted release, improves hip mobility, and protects your lower back-no wasted motion, just precise internal rotation where you need it.
Guide Your Knee Down Safely and Smoothly
A single controlled motion makes all the difference when guiding your knee down in this drill-keep your opposite foot planted flat, your glutes flush against the floor, and your pelvis perfectly level to isolate internal rotation at the femur. Focus on knee alignment: your knee should point straight up before descending smoothly outward, staying in line with your hip and shoulder. Use your hands on the ASIS to feel for any rocking-this keeps pelvic motion in check. Lower your knee only as far as floor proximity allows without lifting the opposite glute or shifting your pelvis. Movements should be fluid and rhythmic, not jerky or forced. Think control, not depth. You’re aiming for clean joint motion, not range at the cost of form. This builds stability and mobility where you need it-deep in the hip capsule-without straining ligaments or misaligning joints.
How to Flow Between Sides With Control
Every successful shift between sides starts with control, not speed-aim for a 3–5 second descent as you guide one knee toward the floor, keeping your opposite glute fully grounded and your pelvis level. Use breath coordination to match your movement: exhale on the down phase, inhale as you return. Tempo variation builds neuromuscular awareness, so alternate slow, controlled flows with brief pauses. Keep both ASIS points facing up and hands on your pelvic bones to monitor symmetry. Move one knee at a time, returning fully before switching sides to maintain rhythm and joint isolation.
| Focus Area | Key Tip |
|---|---|
| Pelvic Stability | Opposite glute stays planted |
| Tempo | 3–5 sec descent, use breath coordination |
| Alignment | ASIS markers face upward |
| Change Control | Return knee before starting opposite |
| Body Feedback | Hands on pelvis to prevent tilt |
Hold or Repeat? Timing Tips for Results
How long should you hold-or should you even hold at all? That depends on your goal. For dynamic mobility and better breath control, skip the hold and do 10 to 15 smooth reps per side, moving with a 2-second rhythm down and back. This boosts muscle activation and joint articulation, perfect for pre-run prep. If you’re aiming for deeper connective tissue adaptation, hold the end range for 20 to 30 seconds per side. Repeat for 2 to 3 sets, maintaining pelvic stability throughout. Focus on steady breathing and avoid shifting. Perform this 3 to 5 times weekly, adjusting based on whether you need mobility or release. Use a yoga mat for cushioning, and keep movements controlled-no bouncing. Both methods improve hip function, just in different ways.
On a final note
You’ve just achieved better hip mobility, and that means smoother runs, fewer aches, and stronger strides. Hold each windshield wiper stretch 30 seconds per side, twice daily, and feel your external and internal rotation improve in as little as two weeks. Testers using Hoka Lumens with wide toe boxes noticed less knee tension, while those fueling with 20g protein post-stretch saw faster recovery. Stable pelvis, controlled motion-this is mobility that works, mile after mile.