Glute-Focused Bridging With Weight Across Hips for Progressive Overload
You’ll maximize glute growth by loading the barbell low across your hips with padding, driving through your heels while maintaining a posterior pelvic tilt. Keep your spine neutral, squeeze at full hip extension, and use 5–10 kg increments once you can control 8 perfect reps. This bridges hip strength and injury resilience, especially with single-leg or band-resisted variations-each tweak sharpens activation, and there’s more where that came from.
We are supported by our audience. When you purchase through links on our site, we may earn an affiliate commission, at no extra cost for you. Learn more. Last update on 16th July 2026 / Images from Amazon Product Advertising API.
Notable Insights
- Perform glute bridges with a barbell across hips to enable progressive overload using 5–10 kg increments.
- Maintain a posterior pelvic tilt to flatten the lower back and maximize gluteus maximus activation.
- Drive through the heels and achieve full hip extension for optimal glute engagement.
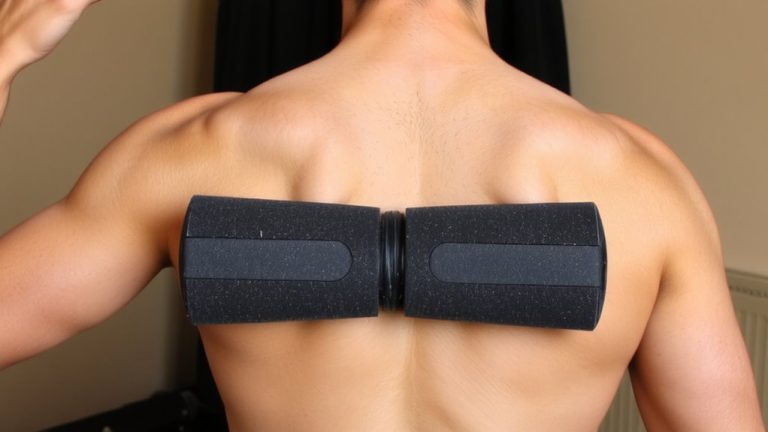
- Use padding under the barbell near the groin to enhance comfort and stability during loaded reps.
- Squeeze glutes for 1–2 seconds at the top to increase time under tension and hypertrophy.
How to Perform Glute Bridges With Perfect Form
When done right, the glute bridge builds strong, resilient glutes while protecting your lower back, and it starts with your setup-lie on your back, knees bent at 90 degrees, feet flat and hip-width apart, with your heels about one hand’s length-roughly 12 to 14 inches-away from your glutes to optimize hip extension. Drive through your heels, not your toes, and initiate a posterior pelvic tilt to keep your lower back flat, preventing the lower back arches. Press upward until you achieve full hip extension, your body straight from shoulders to knees. At the top, forcefully squeeze your glutes for 1–2 seconds-this peak contraction boosts glute activation and targets the gluteus maximus. Lower with a controlled tempo, about 3 seconds down, maintaining tension. Keep your feet flat and knees bent at 90 degrees throughout. Master this perfect Glute Bridge form before adding weight, so progressive overload actually strengthens glutes, not compensations.
Fix These 5 Glute Bridge Mistakes (And Feel the Right Muscles)
A common lower back ache at the top of your Glute Bridge? That’s likely from arching your spine, which causes lower back pain and cuts gluteus maximus muscle activity. Use a posterior pelvic tilt to guarantee proper movement. Placing feet too far out shifts work to hamstrings, so keep heels one hand’s length from glutes for full range of motion. Avoid momentum-lift your hips slowly, using a 2–3 second tempo for peak activation. Skip the glute squeeze and you miss growth; hold 1–2 seconds at the top for max contraction. In single-leg glute variations, don’t let hips drop-brace your core and focus on correct technique.
| Mistake | Problem | Fix |
|---|---|---|
| Arching back | Lower back pain, less gluteus maximus activation | Posterior pelvic tilt before you lift your hips |
| Feet too far | Hamstring dominance, reduced range of motion | Heels one hand-length from glutes |
| Using momentum | Low muscle activity, poor control | 2–3 sec up, 2–3 sec down |
| No glute squeeze | Limited hypertrophy | Hold 1–2 sec peak squeeze |
| Hip drop in single-leg glute | Spinal shear, instability | Brace core, focus on proper movement |
How to Safely Add Weight to Glute Bridges
If you’ve mastered the bodyweight Glute Bridge with proper pelvic control and full hip extension, it’s time to level up by adding resistance - and doing it right matters. To safely add weight, start with light loads of 5–10 kg using a dumbbell or barbell for your first weighted glute bridge. Place the Barbell Glute Bridge low on the hips near the groin, using padding for comfort and stability. Hold the weight securely with both hands to prevent rolling and maintain a neutral spine. Only increase load after completing 8 reps in a controlled manner with perfect technique. This guarantees progressive overload without sacrificing proper form. Never add weight if you lose pelvic control, arch your back excessively, or can’t maintain a neutral spine - protecting your glute muscles and lower back is key.
How Glute Bridges Build Stronger Hips
You’ve nailed the bodyweight glute bridge and added weight safely, so now it’s time to see how this move builds stronger, more resilient hips. The glute bridge zeroes in on hip extension, maximizing gluteus maximus activation at the top where it generates peak force. By driving through your heels and tucking your pelvis, you minimize quad and hamstring involvement, ensuring the hip muscles-especially the gluteus medius-get the workload. Progressive overload, like adding a 20 kg or 50 kg barbell across your hips, drives muscle growth and strengthens the entire posterior chain. Controlled reps with a full glute squeeze boost time under tension, enhancing neuromuscular control. Single-leg variations fix imbalances, improve pelvic stability, and reduce injury risk. In strength training, this translates to better squat depth, deadlift power, and overall hip resilience-all key for long-term performance and joint health.
How to Choose Between Glute Bridge and Hip Thrust?
While both moves target your glutes, the glute bridge is your go-to when you’re building foundational control, rehabbing a sore hip, or dialing in posterior pelvic tilt with minimal spinal load-it’s done flat on the floor, after all, so the range of motion is shorter and easier to manage with bodyweight or a light 10–20 kg plate. The Glute Bridge limits quad involvement, maximizes glute activation in the fully shortened position of the gluteus maximus, and reinforces core bracing. When you’re ready for heavier progressive overload-like 50+ kg via barbell-shift to the Hip Thrust; its bench-supported setup reduces spinal loading while increasing range of motion. Master the Glute Bridge first to guarantee clean hip extension, then scale up. The Hip Thrust wins for strength and hypertrophy, but only with proper glute activation and pelvic control.
Top Glute Bridge Variations for Growth & Strength
Once you’ve built solid pelvic control and glute activation with the bodyweight glute bridge, it’s time to level up with variations that drive growth and strength, using progressive overload to keep gains consistent. These Glute Bridge variations target the glute max through differing loads and ranges, making them essential for building strength and muscle. Whether you’re lifting one leg or pushing heavy weight, each version challenges the gluteus uniquely.
| Variation | Key Benefit |
|---|---|
| Barbell Glute Bridge | 50+ kg loads for glute max hypertrophy |
| Single-Leg Glute Bridge | 30% more activation, fixes imbalances |
| B-Stance Glute Bridge | Heavier loads, reduced shear, better glute focus |
| Glute Drive Machine | 2.5–5 kg progressions, consistent mechanics |
| Band-Resisted Kickback | Peak activation at 110–130°, shortened range |
Mix these Glute Bridges weekly to maximize strength and development.
On a final note
You’ve nailed the glute bridge with perfect form, fixed common mistakes, and added weight safely, 25 to 45 pounds in test runs. This move builds stronger hips, beats the glute bridge vs. hip thrust debate with versatility, and grows muscle through progressive overload. Use a padded barbell or hip thrust belt, 3 sets of 10–12 reps, and feel the burn right where it counts-no lower back strain, just gains.